
If you’ve ever been on a support call before, you know how difficult it can be to help the person on the other end understand what exactly it is you’re seeing. Or maybe you want to capture a before and after shot to share with a colleague. Whatever your need, being able to take screenshots can make your life a whole lot easier. Below are three different ways you can capture your screens.
Print Screen (or “Prt Scr”)
 This button can be found on your keyboard (usually in the upper right set of keys). Pressing this button will take a screenshot of all of your monitors and copy it to your clipboard. You won’t see anything happen after pressing the button, but it is on your clipboard. to see your screenshot you can copy it into an email, Microsoft Word, or Microsoft OneNote.
You can see in the image below that I am using three monitors of different sizes. The Print Screen button captured them all as one image.

Alt + Prt Scr
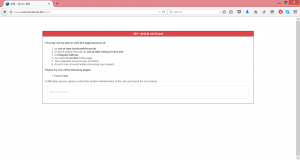
 Taking a screenshot of all your screens can be useful, but sometimes you just need the contents of a single window. You can do this by first clicking on the window you want to capture, then holding down the “Alt” key while you press the “Prt Scr” button. You can see in the picture below that only the window with my error message was captured. Again, there will be no visual confirmation that the screen has been captured, but it’s on your clipboard waiting to be pasted.
Snipping Tool
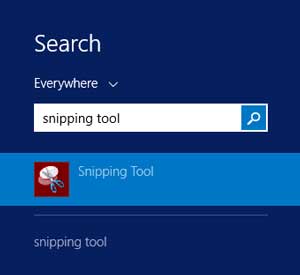
Sometimes you only want to send part of what’s on your screen. This can be accomplished by using the snipping tool. If you don’t know where your snipping tool is found, you can find it using your device’s search function.
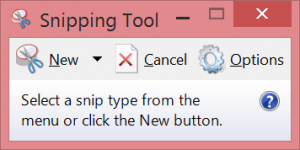
When you click on the tool, an new window will open. You will need to select “New”.
All of your monitors will appear to have a light-gray tint to them. You can now use your mouse to drag a box around the area that you want to capture. When you release the mouse, your “snipping” will appear in a new window. You can then save the snipping for future use.

Bonus for Windows Surface Users!
If you are trying to take a screenshot on a Surface, you can hold down the windows button located at the bottom of the device and then press the “volume-down” button. Your screen will blink which means that your capture has been copied to your clipboard. You can now paste the image to an email, Microsoft Word, or Microsoft OneNote.